This shop has been compensated by Collective Bias, Inc. and its advertiser. All opinions are mine alone. #ReinventSweet #CollectiveBias
Halloween in just around the corner and we are all faced with parties, get togethers, and trick-or-treat that we need to prepare for. A simple delight that I LOVE to make is my delicious Butterfinger Bark.
It's sweet, salty, crunchy, absolute perfection and it is ready to go in no time! I can't wait to show you how to make it, so...
Let's Get started!
To begin I headed to Walmart's holiday candy aisle. I am going to need two forms of butterfingers for this recipe the bars and the new peanut butter cups. I get what I need and head home to get cooking!
Butterfinger Bark:
*Prep Time: 10 minutes *Cook Time: 1 hour *Difficulty: Easy *Servings: One tray of bark
Ingredients:
- 7 Butterfinger Mini Snack bars, crushed
- 1 c. Mini Butterfinger Peanut Butter Cups, melted
- 2 c. Semi-Sweet Chocolate Chips
- 1/4 c. Creamy Peanut Butter
First thing you will do is melt down the Butterfinger peanut butter cups.
This is going to give the bark that great Butterfinger flavor throughout.
Pour the cups into a small saucepan.
Then add the peanut butter.
Cook over a low heat until the peanut butter cups are completely melted into the peanut butter.
Pour into a small dish when you are finished.
Now add an inch of water into a pan and place a glass bowl over it.
Bring the water to a simmer and add the chocolate chips to it.
Let them melt completely.
You will want to do this over medium/low heat.
Remember, if the bowl is too hot to touch the heat is too high.
You don't want to burn the chocolate.
While the chocolate chips are melting, you can crush the Butterfinger bars in a resealable bag.
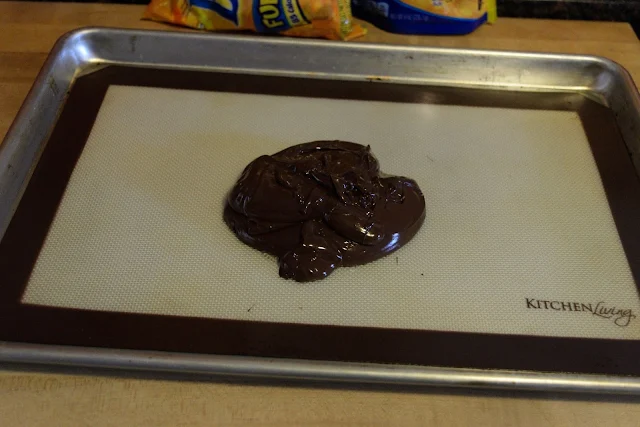
Once the chocolate has melted pour it onto a parchment paper or silpat mat lined baking sheet.
Spread it out into a thin layer over the baking sheet.
Next drizzle the peanut butter mixture over it.
Take a butter knife and drag through it to make swirls.
Sprinkle the crushed Butterfinger bars over the chocolate and place in the freezer for 1 hour to set.
I love that this recipe only requires 7 mini bars! That means more to snack on later!
After 1 hour it will look like this.
Now simply break it up into pieces.
And there you have it! Sweet, salty, creamy, and crunchy homemade Butterfinger Bark! I like to put a few pieces into cute and festive treat bags to hand out at parties, trick or treat, and to send into my husbands office. It is perfectly simple and everyone is going to love it! If you like this recipes head on over to the Butterfinger Pinterest Page for even more great ideas and to save some money, sign up for Ibotta and get an awesome coupon!
And as always...
Happy Reading, Happy Eating, and Happy Halloween.
~The Kitchen Wife~


Um, yum.
ReplyDeleteThis makes me want some chocolate. AHHHH! Yum. Looks so good!
ReplyDeleteThis makes me want some chocolate. AHHHH! Yum. Looks so good!
ReplyDeleteShut up. This looks amazing. Butterfingers are pretty much my favorite!
ReplyDeleteYou had me at sweet, salty and crunchy! Yum! #client
ReplyDelete